Overview
I have been away from active flying for number of years. All my glow engines had been lying and need to be cleaned and tuned before I could think of restarting flying my glow models. So decided to make a test bench for glow engines.
Since I have different size glow engines, the test bench should be able accommodate all engine sizes, from 15 to 60 size. Further the bench should be stable to take engines of this capacity and should be transportable to an open space outside the house. For the first requirement, I have used a variable size engine mount which I had purchased years back during the age of diesel (Kerosene+Ether+Castor Oil) fuel. The second requirement was met by making the test bench mountable on my glow engine caddy.
What To Expect
Build
Started the build by mounting the aluminum diesel engine mount on a 6 inch x 7 inch piece of 3/4 inch ply board (scrap lying with me). The engine mount can also be replaced by two hard wood blocks and mounting plates. Since the fuel tank should be in line with the engine carburetor, an elevated fuel tank mount was made by taking a piece of ply wood and mounting 4 L shaped hooks on the sides. A strip of ply was added below this plank before screwing it in place.


The fuel tank should be placed on top of this plank and held in place using rubber bands wrapped around these L hooks. A piece of rubber sheet/foam can be inserted between the fuel tank and the tank support to absorb vibrations.


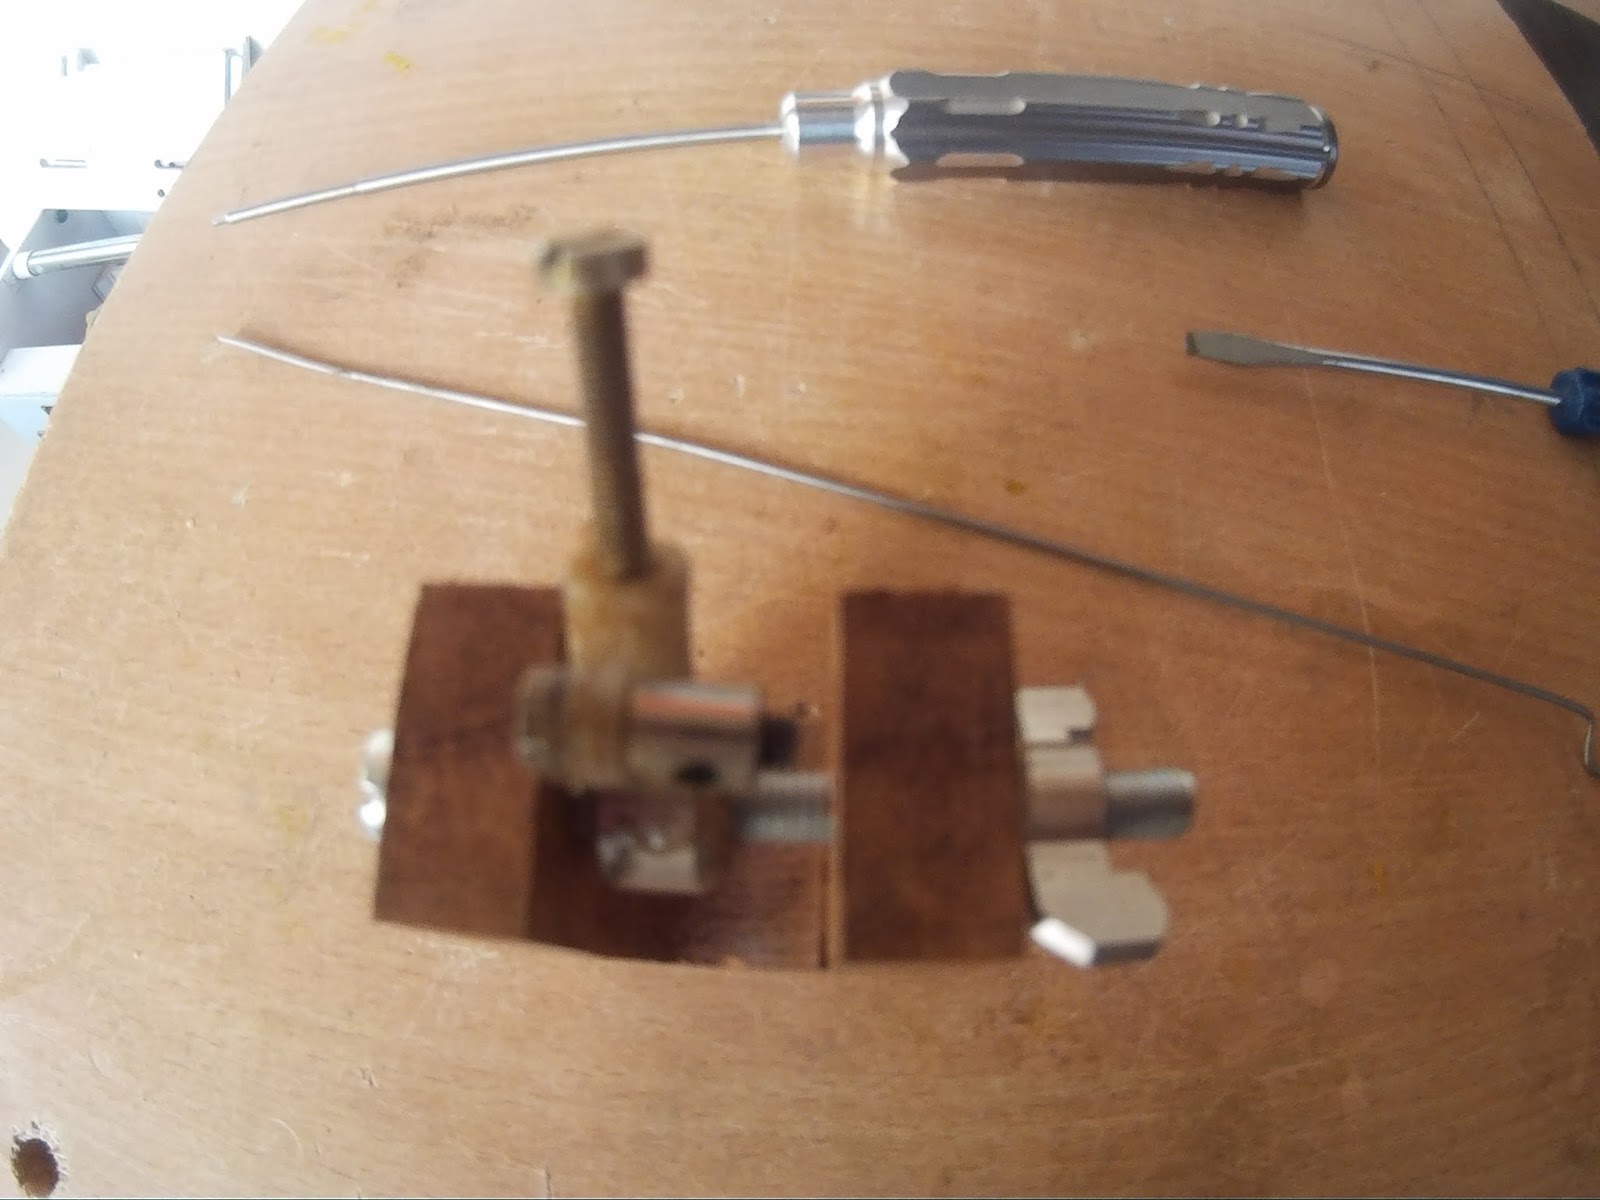
Initially I installed the throttle assembly by cutting out a 2 inch piece of ply board and drilling a hole at one end to allow the second bolt to pass through. A spring was slid over the second bolt before tightening it to the wooden support. The spring kept the throttle lever in place. The bolt had to be tightened to provide sufficient friction to this lever. The throttle support was mounted so that it was in line with the position of the throttle on the engine. However, while using this setup found that mounting the axle bolt on two ends would be better.


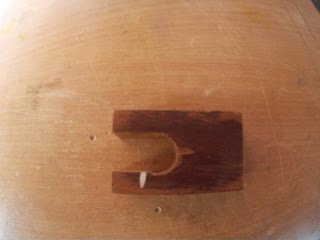
Made a fresh Throttle Adjuster Mount by cutting a U shaped slot in a hard wood piece. The two arms of this U shaped cavity hold the adjuster bolt.

Instead of using a spring for tensioning the adjuster arm, a wing nut was used. The setup otherwise remains the same


The new adjuster was mounted in place of the old one while ensuring that the throttle adjusting wire was aligned to the throttle on the engine.

Next step was to prepare a system for attaching the test bench on to my caddy (which is heavy enough to keep the test bench stable and has all the support equipment for starting the engine). On my caddy I have space for mounting variable width model support panel. I used this feature for mounting the test bench.

Took a two inch wide ply board and drilled the attachment holes for fixing it on the caddy.

Next I tightened the test bench on to this strip.


The Test Bench can be mounted using two bolts/wing nuts. As such, the Test Bench can be installed or removed from the caddy as required.


The Test Bench can accommodate engines of different sizes just by adjusting the opening on the engine mount. Below pictures of 25 and 46 size engines mounted on the Test Bench


Sketchup Model
I have been away from active flying for number of years. All my glow engines had been lying and need to be cleaned and tuned before I could think of restarting flying my glow models. So decided to make a test bench for glow engines.
Since I have different size glow engines, the test bench should be able accommodate all engine sizes, from 15 to 60 size. Further the bench should be stable to take engines of this capacity and should be transportable to an open space outside the house. For the first requirement, I have used a variable size engine mount which I had purchased years back during the age of diesel (Kerosene+Ether+Castor Oil) fuel. The second requirement was met by making the test bench mountable on my glow engine caddy.
What To Expect
Build
Started the build by mounting the aluminum diesel engine mount on a 6 inch x 7 inch piece of 3/4 inch ply board (scrap lying with me). The engine mount can also be replaced by two hard wood blocks and mounting plates. Since the fuel tank should be in line with the engine carburetor, an elevated fuel tank mount was made by taking a piece of ply wood and mounting 4 L shaped hooks on the sides. A strip of ply was added below this plank before screwing it in place.


The fuel tank should be placed on top of this plank and held in place using rubber bands wrapped around these L hooks. A piece of rubber sheet/foam can be inserted between the fuel tank and the tank support to absorb vibrations.

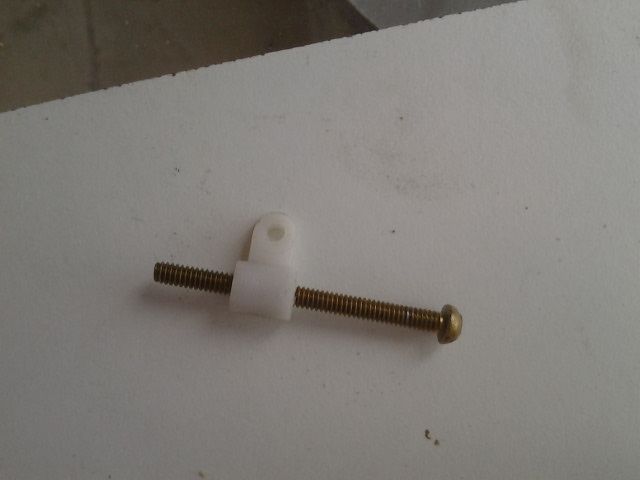
The throttle arm was made starting with a 1/8 inch (3mm) screw. Slipped an aileron horn on to this screw. Took another bolt and slipped in a (wheel) collet. The first screw was used for tightening the collet at one end of the second bolt.

Initially I installed the throttle assembly by cutting out a 2 inch piece of ply board and drilling a hole at one end to allow the second bolt to pass through. A spring was slid over the second bolt before tightening it to the wooden support. The spring kept the throttle lever in place. The bolt had to be tightened to provide sufficient friction to this lever. The throttle support was mounted so that it was in line with the position of the throttle on the engine. However, while using this setup found that mounting the axle bolt on two ends would be better.


Made a fresh Throttle Adjuster Mount by cutting a U shaped slot in a hard wood piece. The two arms of this U shaped cavity hold the adjuster bolt.


Instead of using a spring for tensioning the adjuster arm, a wing nut was used. The setup otherwise remains the same


The new adjuster was mounted in place of the old one while ensuring that the throttle adjusting wire was aligned to the throttle on the engine.

Next step was to prepare a system for attaching the test bench on to my caddy (which is heavy enough to keep the test bench stable and has all the support equipment for starting the engine). On my caddy I have space for mounting variable width model support panel. I used this feature for mounting the test bench.

Took a two inch wide ply board and drilled the attachment holes for fixing it on the caddy.

Next I tightened the test bench on to this strip.


The Test Bench can be mounted using two bolts/wing nuts. As such, the Test Bench can be installed or removed from the caddy as required.


Sketchup Model
The Sketchup model can be downloaded by clicking on the 3D Warehouse icon above.
This is a great looking build. Do you have a video of it being used with some close up views? I've been looking for some ideas to build a test bench for spec'ing electric motors for my planes. I am wanting to find the most efficient combinations of motor, battery, speed controllers, batteries, and props for needed thrust.
ReplyDeleteSorry for late reply.
DeleteFrom your requirement it appears that you are looking for a video of the thrust meter. Will take a video of the thrust meter coming weekend and upload it.